Automotive Electric Basics: Voltage and Ohm’s Law
Voltage, Amps, Resistance, and Ohm’s Law from the Automotive Electric Masters; Pop’s Auto Electric
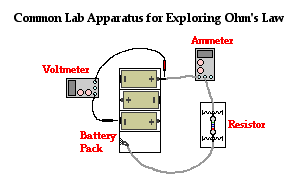
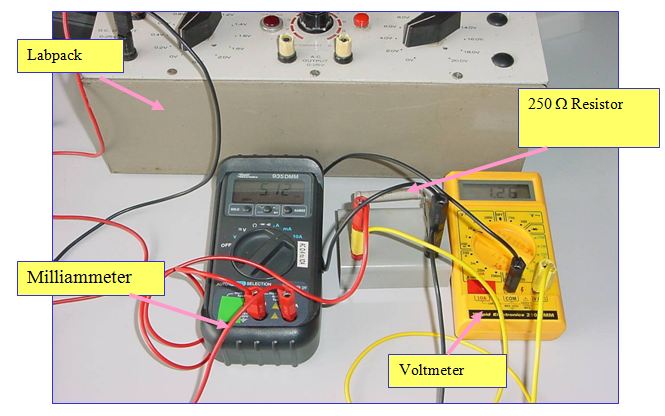
Knowing how to measure electric is key to understanding how automotive electric works. Electricity is not something we can necessarily see and put our hands on. Because of that, there are standard ways of measuring and using electricity. Georg Ohm was one of the people who developed the standards we use today. He came up with what is now called Ohm’s law. Ohm’s law is written like this:
IVR
I = Current Flow or Amps
V = Voltage
R = Resistance
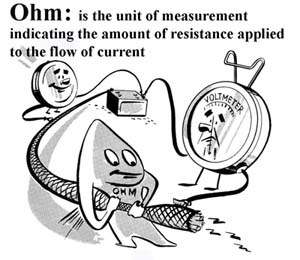
What Ohm gave us this formula which says; amps, voltage, and resistance are interrelated. If you know two of the three in the equation, you can figure out the value of the missing one. If you know the volts and the resistance, you can divide the volts by the resistance and find out how many amps are flowing through the circuit. It’s a handy formula that can give a better understanding of how electricity really works.
Voltage
Voltage (V) is the potential energy of electricity. Voltage can be present even if there is no current flow. For example, your battery can have 12 volts in it even if it’s not being used. That 12 volts is still there, waiting to be used, and is the battery’s potential. Think of battery voltage like you think of a full tank of gas; it can get you somewhere, but not until you start the engine and begin to use it.
One really interesting thing about voltage is that in an electrical circuit, all of the voltage the electrical circuit started with is used up when traveling through the circuit. For example, if you start with 12 volts at the battery positive and you run it through a circuit, by the time it goes through the load and reaches the negative battery post to complete the circuit, it’s down to zero volts.
Why is this useful? Because it allows us to do one of the best tests in automotive electric diagnostics: the voltage drop.
Voltage Drop Testing
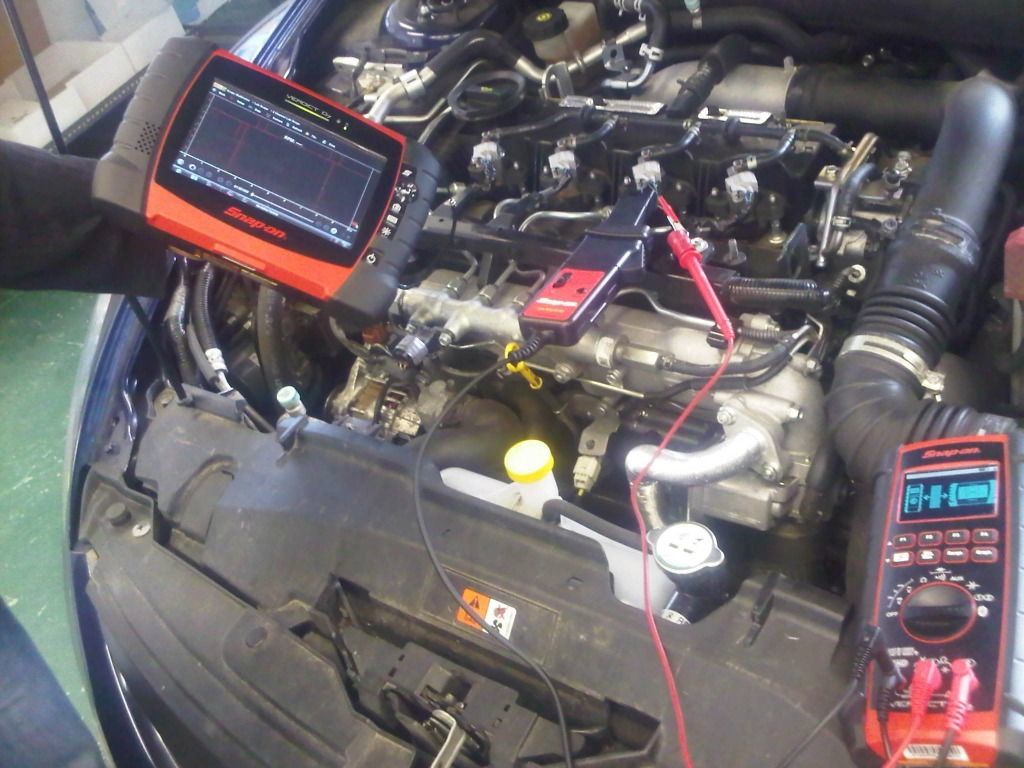
Voltage drop testing is probably the best way to find an electrical fault. Because the voltage drops as it travels through the circuit, we can tell where it’s being used simply by measuring the voltage at different points in the circuit.
Think of a car that leaves the positive battery post with just enough gas to work the load and get to the negative battery post. By the time the car reaches the negative battery post, it runs out of gas and that’s it. That’s how voltage works; it starts at its highest level at the positive battery terminal and ends up at zero when it reaches the negative battery terminal.
Now, what if somewhere in the circuit, our car take a detour and goes down a different road and the car decides not to take the road (circuit) all the way back to battery negative. We call this a short circuit. When this happens, we often blow fuses and sometimes melt or burn up parts. This is because of the unrestricted amp flow that occurs during a short circuit.
What if our car encounters an obstruction in the road (circuit) and we use more gas getting through the obstruction on our way back to battery negative. The theoretical car still make it back to battery negative, but since we used so much fuel (voltage) getting through the resistance and the load, there’s hardly any fuel left to do any work.
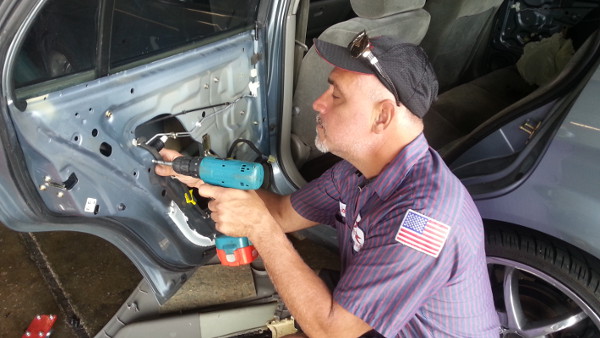
This is what happens when we have increased resistance in an automotive electric circuit. If that’s the case with, say, a window motor, the window motor will still work; it will just work very slowly. Why? Because of the increased resistance we had to go through to get back to battery negative. We ended up using almost all our fuel (voltage) overcoming the resistance in the circuit. Less fuel (voltage) means there isn’t enough to run the window motor at full capacity.
If we did a voltage drop test following the path of the automotive electric circuit, we could see where the fuel (voltage) was being used. We should see the biggest drop across the load of the circuit, which, in the case of a window motor, is the window motor.
While the circuit is operational, we can check the voltage before and after the motor. Voltage drops need to be done on a live circuit; if they’re not active, you won’t get any readings. Remember that voltage is electricity’s potential energy; if it’s not being used, it’s just potential.
Before the motor, we should see something close to the 12V we started with. We won’t see the full 12V because we had to use some of the gas (voltage) to get through the wires, and probably switches, going to the motor itself. These things give us a little resistance that we need to account for when checking the automotive electric voltage before the motor. After the motor, however, we should see some pretty low voltage, because we used all our gas (voltage) to run the motor.
This works for every electrical circuit according to Ohm’s law. Once you know the circuit, you know where the gas (voltage) is going and you can measure it at different points in the circuit to get a good idea of how the circuit is operating.
One last example that might give you some practical insight: Say you have an electrical connector with some corrosion in it. You can’t see the corrosion, but you suspect it’s there. You can take a voltage reading before and after the connector to check the voltage drop across the connector. You should see close to zero volts. If you see a higher voltage than expected, you’ve found increased resistance in the circuit.
Voltage drop testing is your best friend when it comes to diagnosing automotive electric circuits. At Pop’s Auto Electric, we are experts in all forms of voltage testing. In fact local shops call us to trace, diagnose and fix difficult automotive electrical problems. Call Pop’s Auto Electric today for a free estimate.
Call Pops Auto Electric today for any repair work, but call right now if you experience any of the automotive electric system repair signs listed above, save your families life, fix those problems now!

